

For a detailed walk-through of all map features, please see the "Getting Started with Maps" Help Center article.
You can edit and filter the information shown in a map layer by utilizing the Layer Menu on the right hand side of your map screen. This menu opens when a layer is selected and contains the following tabs:
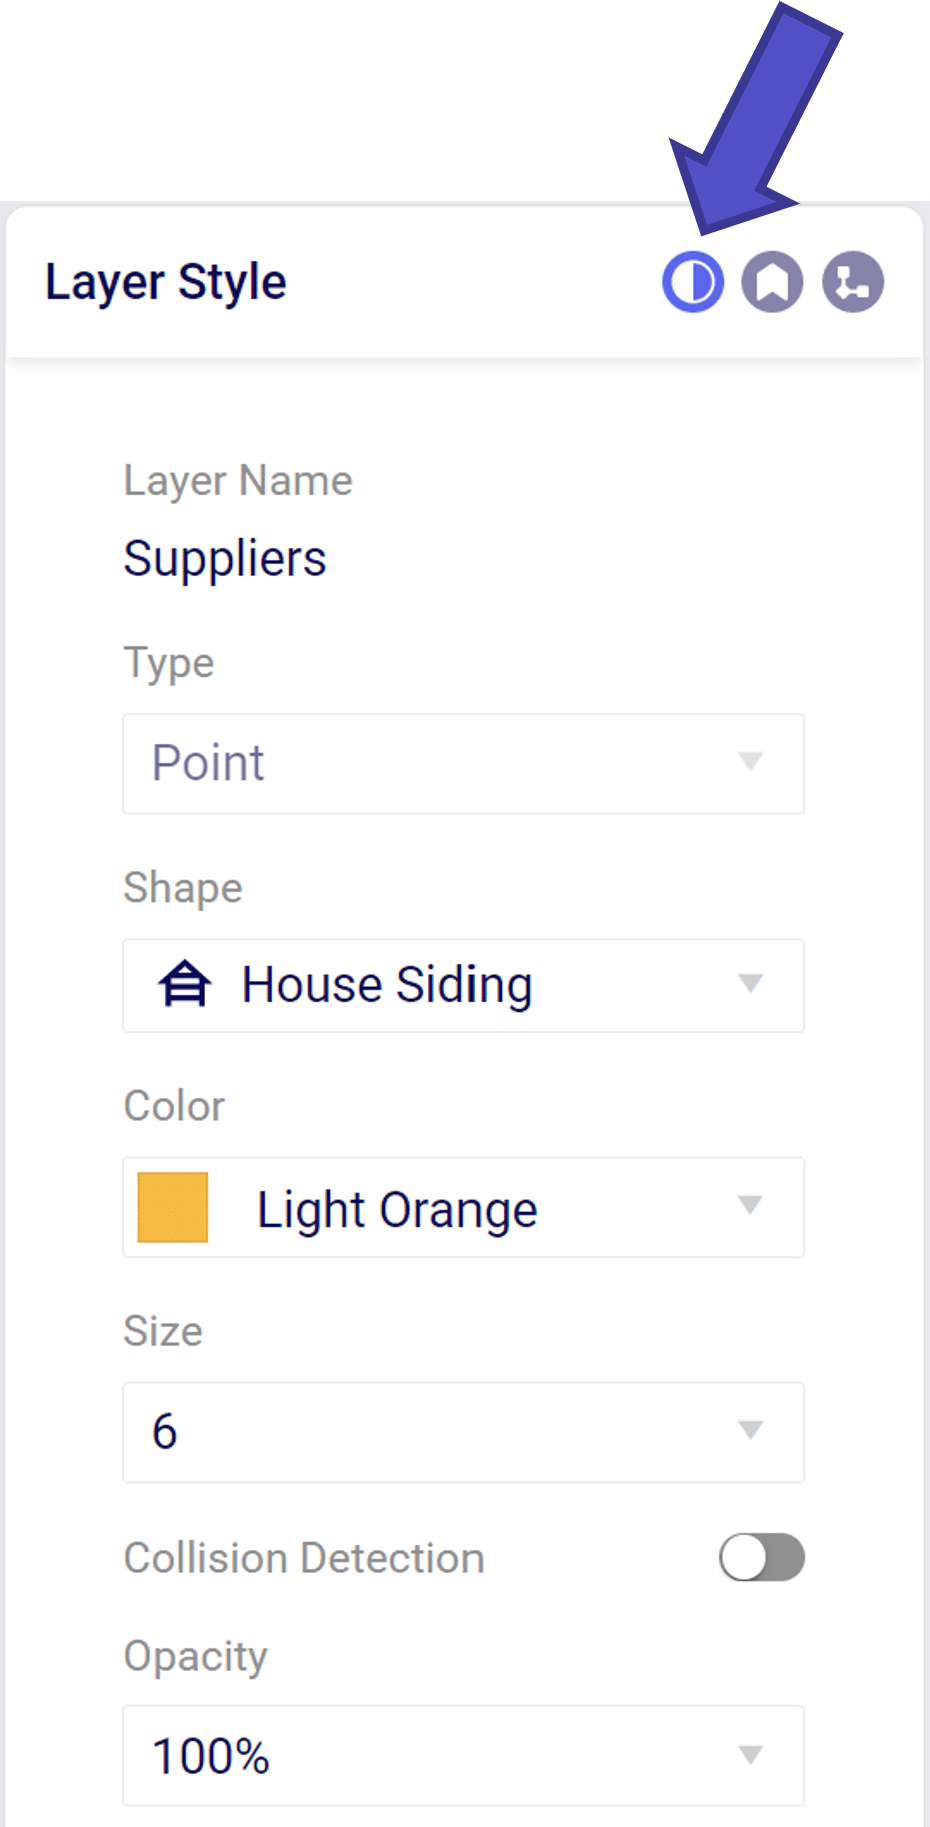
From the layer style menu we can modify how the layer will appear on the map
From the layer label menu we can add text descriptors the map layer.
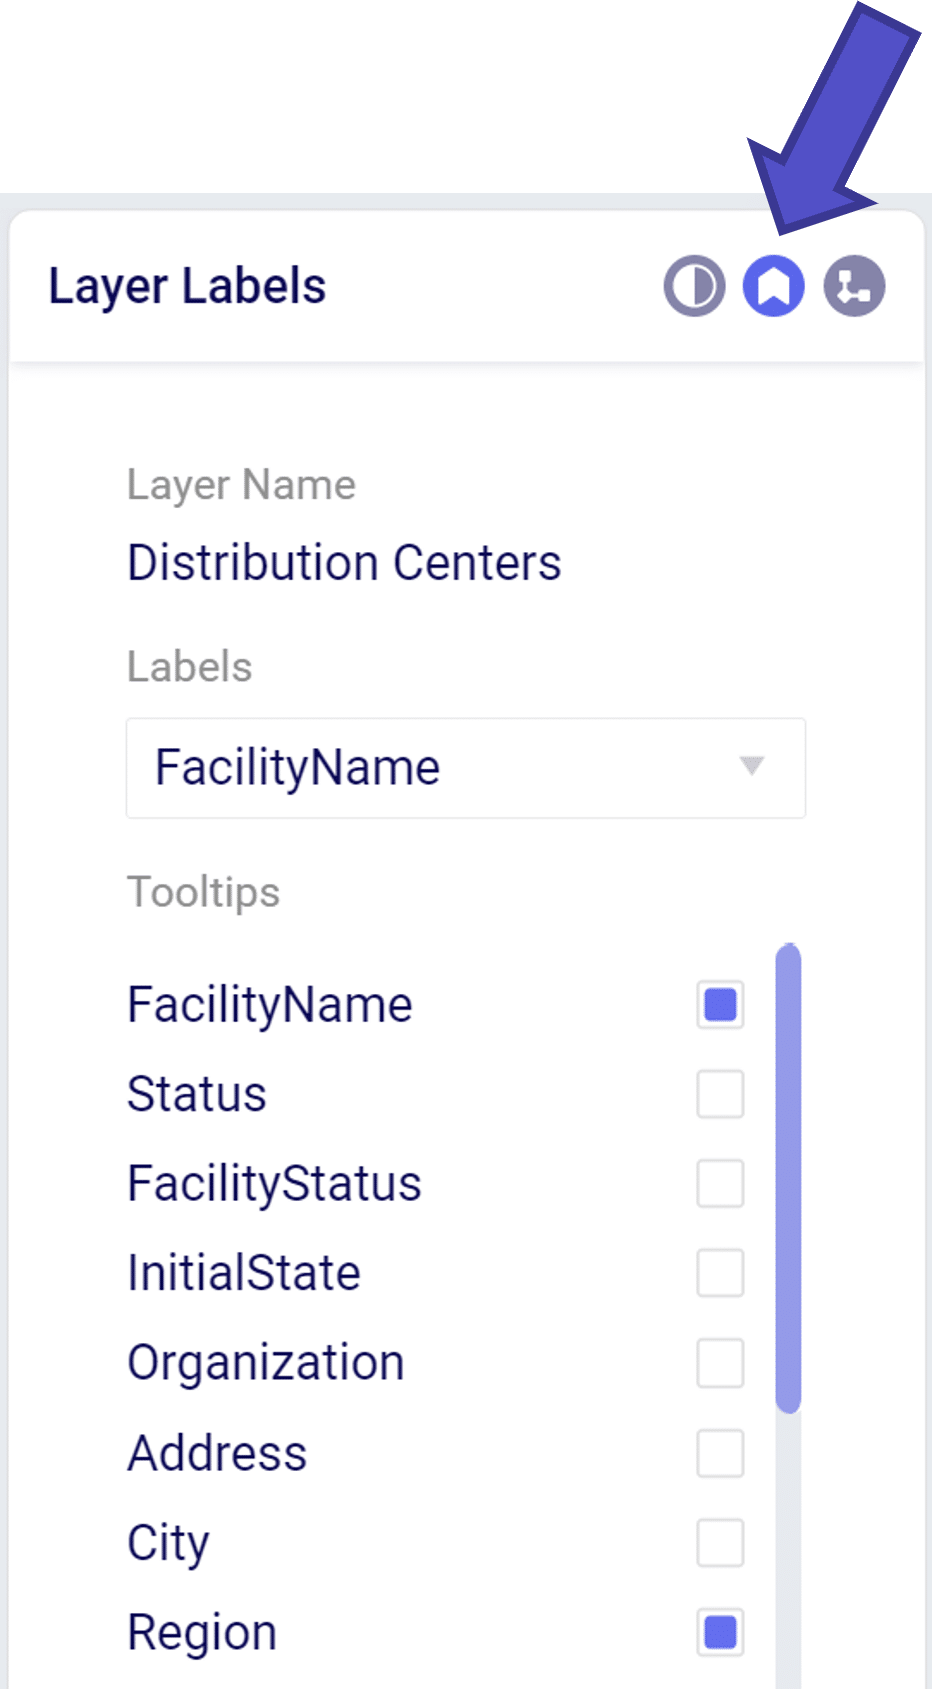
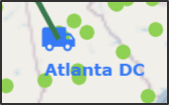
The “Labels” dropdown menu allow you to add a text descriptor next to a layer item. Only one item may be selected in the label dropdown.
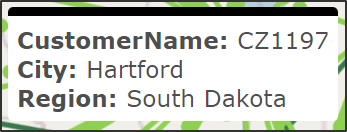
The “Tooltip” is a floating box that appears when hovering over a layer element. We can add/remove items displayed in the tooltip by selecting in the “Tooltips” menu.
The Condition Builder menu allows you to edit the data included in your layer. The most important item is to select the Table Name using the drop down menu that you wish to show on the map. This can include point items like Customers or Facilities or transportation arcs like OptimizationFlowSummary.

Within the Condition Builder you can use conditions to filter the table further to a subset of the data in the table. The filter syntax is similar to the syntax used when creating scenarios.

For a detailed walk-through of all map features, please see the "Getting Started with Maps" Help Center article.
You can edit and filter the information shown in a map layer by utilizing the Layer Menu on the right hand side of your map screen. This menu opens when a layer is selected and contains the following tabs:
From the layer style menu we can modify how the layer will appear on the map
From the layer label menu we can add text descriptors the map layer.
The “Labels” dropdown menu allow you to add a text descriptor next to a layer item. Only one item may be selected in the label dropdown.
The “Tooltip” is a floating box that appears when hovering over a layer element. We can add/remove items displayed in the tooltip by selecting in the “Tooltips” menu.
The Condition Builder menu allows you to edit the data included in your layer. The most important item is to select the Table Name using the drop down menu that you wish to show on the map. This can include point items like Customers or Facilities or transportation arcs like OptimizationFlowSummary.
Within the Condition Builder you can use conditions to filter the table further to a subset of the data in the table. The filter syntax is similar to the syntax used when creating scenarios.


