

To create a scenario you need to do three things:
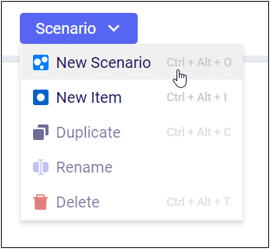
From the Scenario tab in Cosmic Frog select the blue button called “Scenario” and click on “New Scenario.”
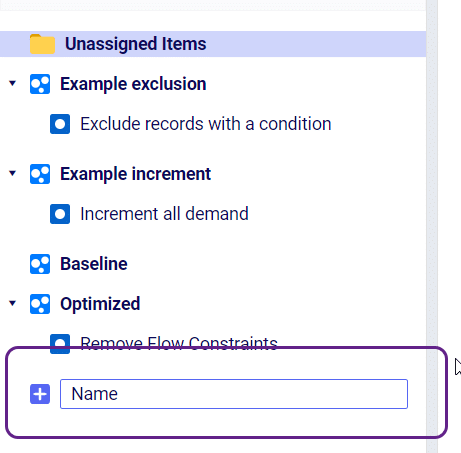
Type the name of the scenario you would like to create in the panel window.
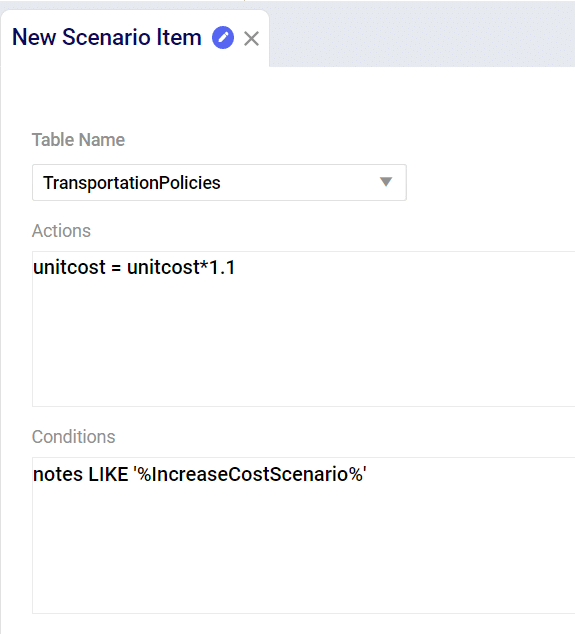
From the same drop down as “New Scenario” select “New Item” to create a scenario item. Enter the name of your scenario item in the window. After you press enter the Scenario Item window will be active where you will select the following:
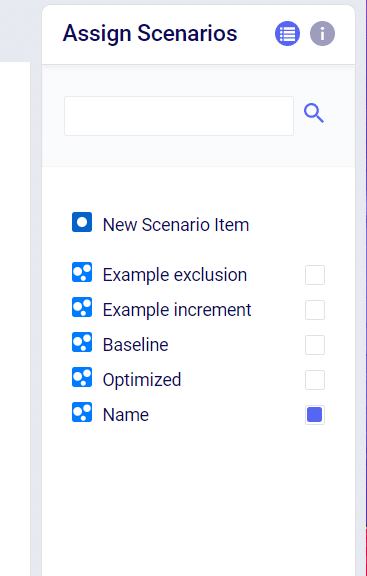
After you have created and saved the Scenario Item you need to assign that item to a scenario. On the right hand side of your screen there is a table called “Assign Scenarios.” From here you can check/uncheck the Scenarios where you wish to use the new Scenario Item.

To create a scenario you need to do three things:
From the Scenario tab in Cosmic Frog select the blue button called “Scenario” and click on “New Scenario.”
Type the name of the scenario you would like to create in the panel window.
From the same drop down as “New Scenario” select “New Item” to create a scenario item. Enter the name of your scenario item in the window. After you press enter the Scenario Item window will be active where you will select the following:
After you have created and saved the Scenario Item you need to assign that item to a scenario. On the right hand side of your screen there is a table called “Assign Scenarios.” From here you can check/uncheck the Scenarios where you wish to use the new Scenario Item.


