

The File Explorer is a fully functioning view into your workspace file system. To open the File Explorer, look for the following icon on the left-hand side of the Atlas environment:

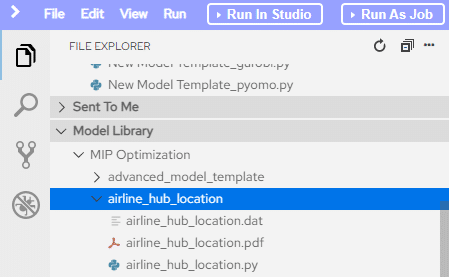
To expand a folder to view its contents simply click anywhere on the folder, its label, or the expand icon (the small triangle next to the folder itself).
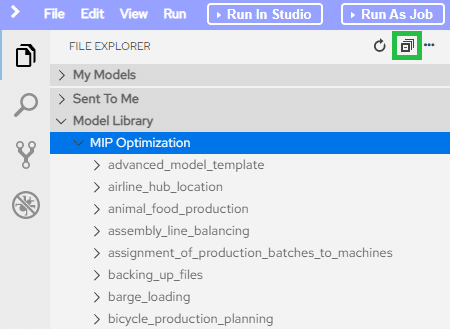
To collapse the folder you can either click on the same area again, or you can collapse all folders by clicking the button outlined below.
To open a file, navigate to it in the file explorer and double-click on it. Once done, the file will load into the editor. Please note that some files will not show properly in the editor, such as files that contain binary content or encrypted content.
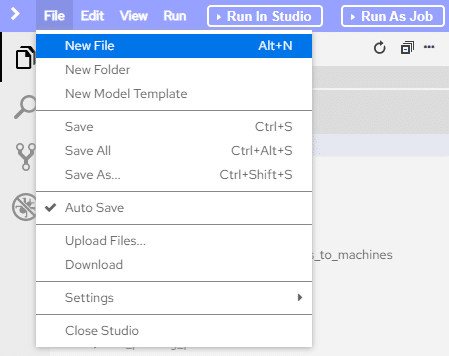
There are two ways you can create a new file; through the file menu:
or via the file explorer context menu.
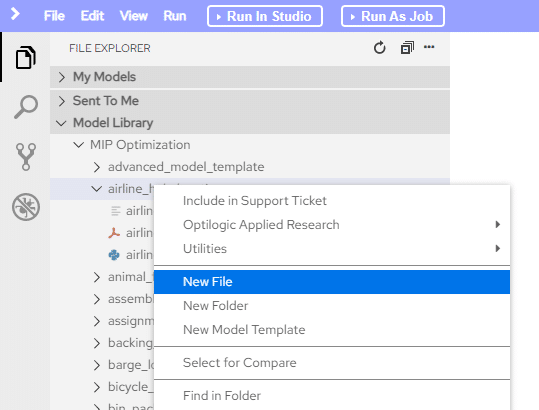
Keep in mind that the context you have selected in the file explorer is where the new folder will go, so if you want the folder underneath a specific other folder make sure to select that folder before you begin. That being said, if you forget you can still move the folder afterward.
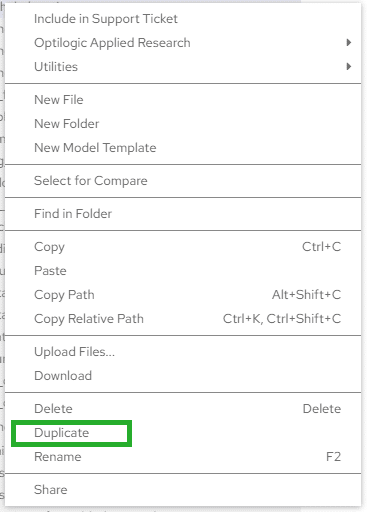
To duplicate a file or folder, select the Duplicate command from the right-click context menu. This will create a copy of the file or folder in the same location with the suffix _copy.
To rename a file or folder, select the Rename command from the right-click context menu or use the hotkey F2 while the file or folder is selected. This will present a dialog where you can type in the new name that you want to use. Once specified, hit Enter or click the OK button to apply the new name.
To upload a file or files, make sure that you have a folder selected. From the right-click context menu select the Upload Files… command or select the same command from the file menu. Select the file or files from the file selection dialog and hit Enter or click the Open button. This will upload the selected files to the folder that you have selected.
To download a file or folder, select the Download command from the right-click context menu or the same command from the file menu. This will download the selected file or folder to your local machine. If you have selected a folder, the contents will be compressed into a .tar archive file. You will need to use a file archiving tool to extract the contents of the archive.
To save a file, select the Save option from the file menu or use the hotkey CTRL+S. This will save the changes in the file that has focus in the editor. Note, a file with focus will have the tab in the editor have the same background as the background of the editor itself. You can tell if a file needs to be saved by the presence of a white dot in the file header open in the editor.
You can delete a file or folder by selecting the Delete command from the right-click context menu or hitting the Delete key on your keyboard.
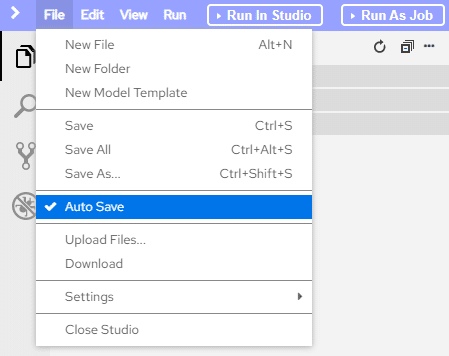
By default, the auto-save option is turned on. This means that your files will automatically save as you are editing them. You can turn this on or off by selecting the Auto Save option in the file menu.
Atlas includes a file comparison tool. This will show you line-by-line differences between two files.
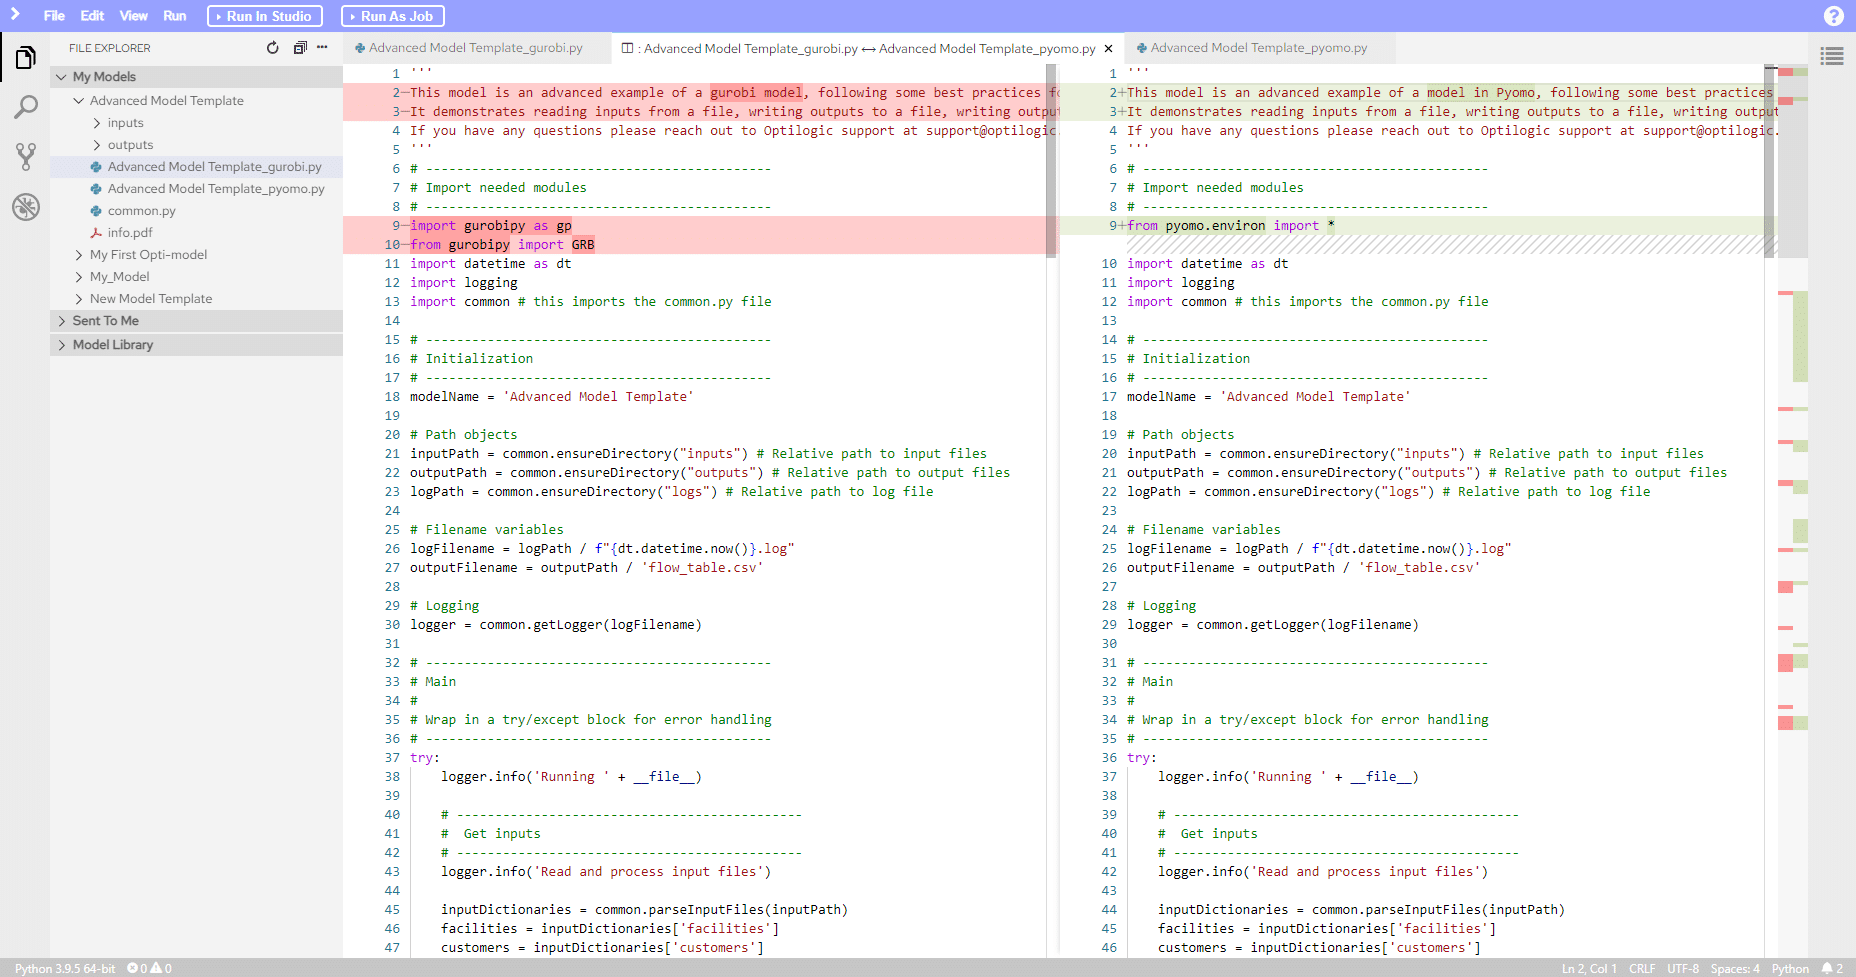
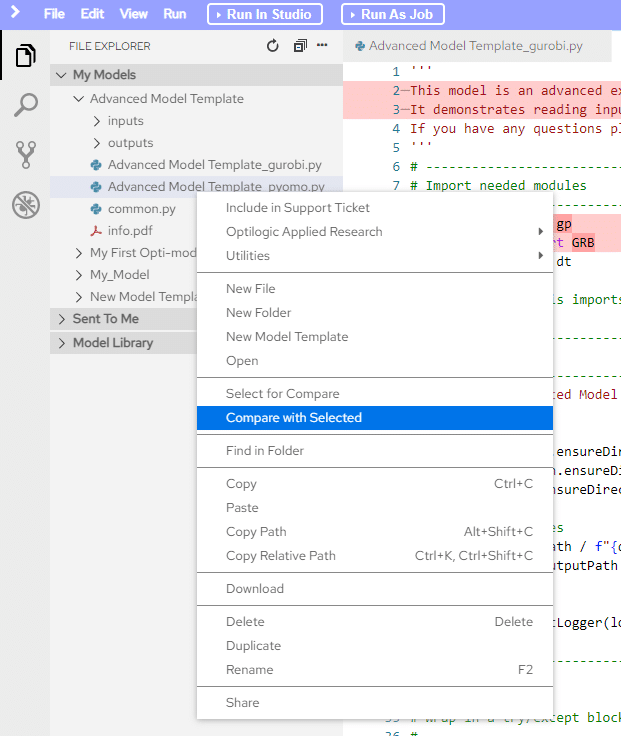
To use it you can either select the Compare with Each Other command from the right-click context menu while two files are selected, or you can select the Select for Compare command on the first file, then select the Compare with Selected command on the other file you would like to compare.
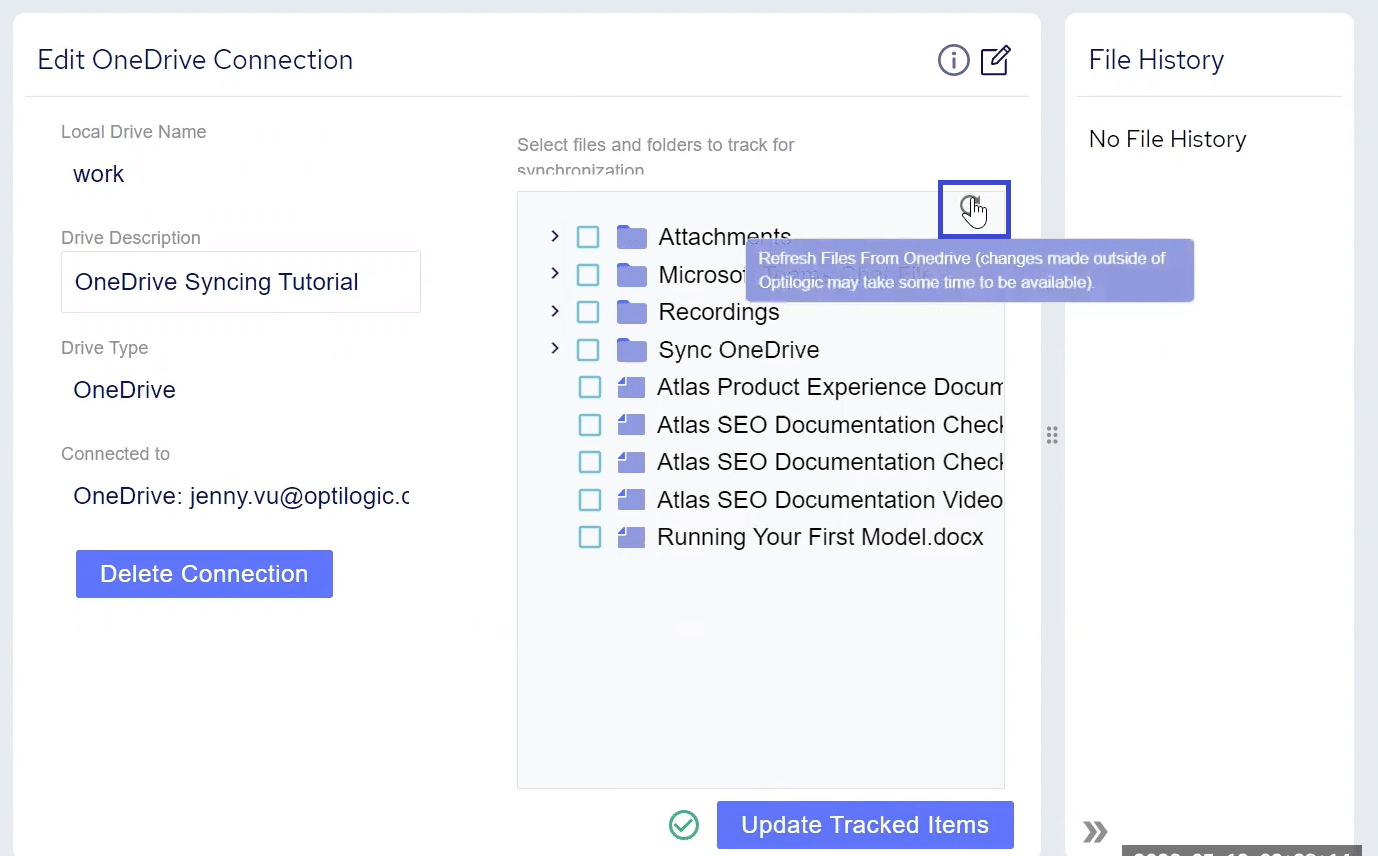
When there are changes to your workspace file system but they haven’t shown up visually, you can refresh the explorer to show you the latest state on disk. This can happen sometimes if the models you are building are writing out files. To refresh the explorer, click the refresh button in the upper right.

The File Explorer is a fully functioning view into your workspace file system. To open the File Explorer, look for the following icon on the left-hand side of the Atlas environment:

To expand a folder to view its contents simply click anywhere on the folder, its label, or the expand icon (the small triangle next to the folder itself).

To collapse the folder you can either click on the same area again, or you can collapse all folders by clicking the button outlined below.

To open a file, navigate to it in the file explorer and double-click on it. Once done, the file will load into the editor. Please note that some files will not show properly in the editor, such as files that contain binary content or encrypted content.
There are two ways you can create a new file; through the file menu:

or via the file explorer context menu.

Keep in mind that the context you have selected in the file explorer is where the new folder will go, so if you want the folder underneath a specific other folder make sure to select that folder before you begin. That being said, if you forget you can still move the folder afterward.
To duplicate a file or folder, select the Duplicate command from the right-click context menu. This will create a copy of the file or folder in the same location with the suffix _copy.

To rename a file or folder, select the Rename command from the right-click context menu or use the hotkey F2 while the file or folder is selected. This will present a dialog where you can type in the new name that you want to use. Once specified, hit Enter or click the OK button to apply the new name.
To upload a file or files, make sure that you have a folder selected. From the right-click context menu select the Upload Files… command or select the same command from the file menu. Select the file or files from the file selection dialog and hit Enter or click the Open button. This will upload the selected files to the folder that you have selected.
To download a file or folder, select the Download command from the right-click context menu or the same command from the file menu. This will download the selected file or folder to your local machine. If you have selected a folder, the contents will be compressed into a .tar archive file. You will need to use a file archiving tool to extract the contents of the archive.
To save a file, select the Save option from the file menu or use the hotkey CTRL+S. This will save the changes in the file that has focus in the editor. Note, a file with focus will have the tab in the editor have the same background as the background of the editor itself. You can tell if a file needs to be saved by the presence of a white dot in the file header open in the editor.
You can delete a file or folder by selecting the Delete command from the right-click context menu or hitting the Delete key on your keyboard.
By default, the auto-save option is turned on. This means that your files will automatically save as you are editing them. You can turn this on or off by selecting the Auto Save option in the file menu.

Atlas includes a file comparison tool. This will show you line-by-line differences between two files.

To use it you can either select the Compare with Each Other command from the right-click context menu while two files are selected, or you can select the Select for Compare command on the first file, then select the Compare with Selected command on the other file you would like to compare.

When there are changes to your workspace file system but they haven’t shown up visually, you can refresh the explorer to show you the latest state on disk. This can happen sometimes if the models you are building are writing out files. To refresh the explorer, click the refresh button in the upper right.


